Garmin Dash Camera Kit Installation Guide
Adding a dash camera can be great added security and safety to feature to any vehicle. With our Garmin Dash Camera Bundles you are able to conveniently power the camera using the supplied power adapter or use the Constant Power Adapter for continuous use, even while the vehicle is parked!
This install guide will cover the 2 different installation possibilities for your new Garmin Dash Camera bundle:
Option 1: Garmin Dash Camera with no power adapters
Step 1
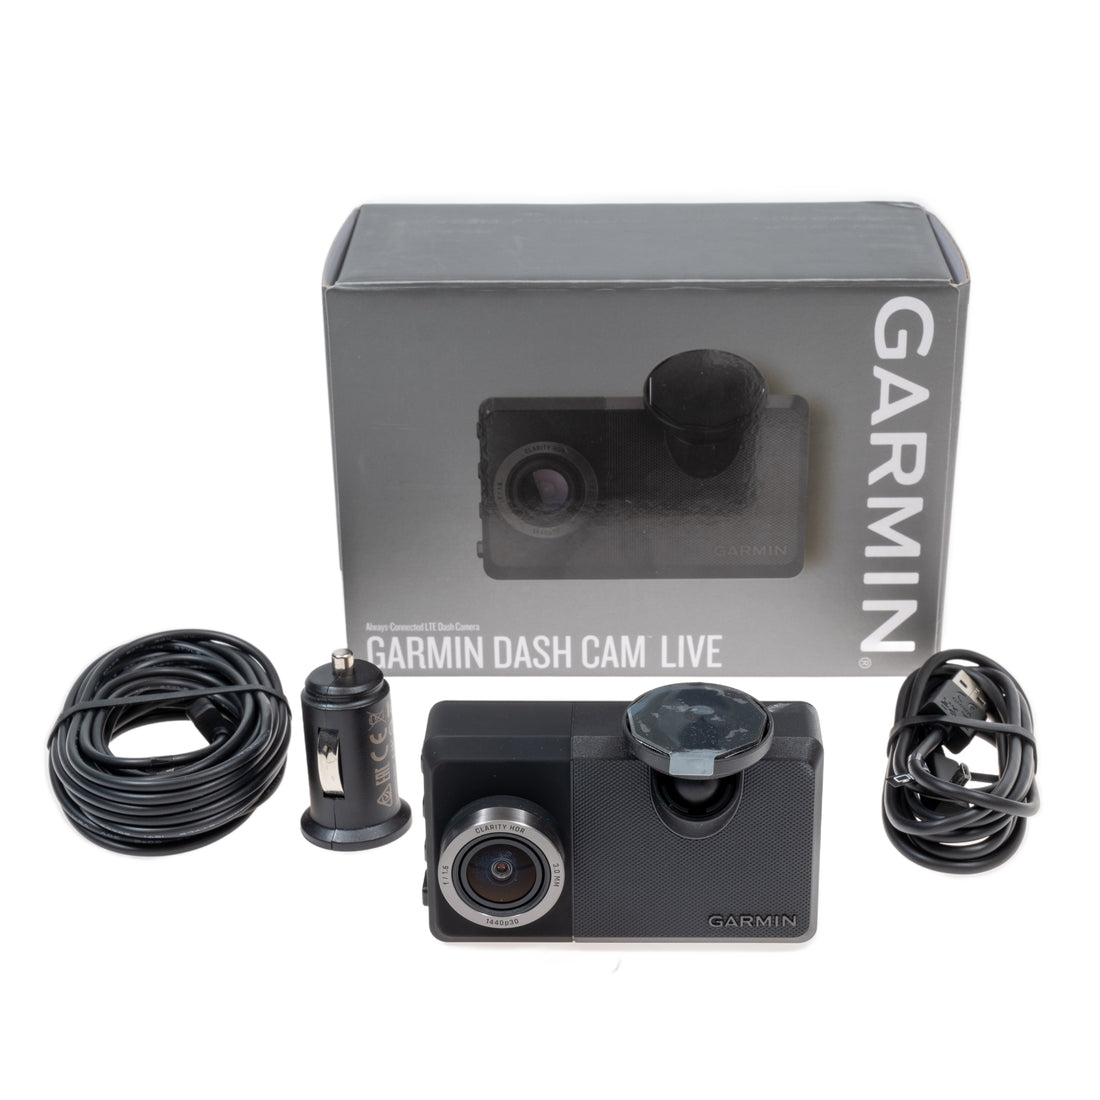
First of all, check the packaging and make sure it hasn’t been damaged; then check out the parts to make sure they are intact and ready to go. You will have:
- The Garmin dash camera of your choosing.
Tools Needed:
- Panel Removal Tool
- Philips Head Screwdriver
- Small Flat Head Screwdriver
- T20 torx bit screwdriver
- Zip Ties
- Cutters
- Glass Cleaner
- Microfiber Cloth
Step 2
Please see the Important Safety and Product Information guide in the product box for product warnings and other important information.
Step 3
Connecting power wire to the camera:
- Using the longer of the USB power cables from the Garmin box, connect the power cable to the Garmin camera.
Step 4
Mounting the camera to the windshield:
- Clean the window using glass cleaner and a clean microfiber. Secure your dash camera to your windshield in your desired location. Our recommendation is placing it in the middle of the windshield, just below your rearview mirror.
Step 5
Disassembly of windshield & A pillar trim panel:
- Remove the two T20 torx bolts from the visor mount.

- Remove the plastic phillips head screw from A pillar trim:

- Remove the top A pillar trim by pulling out towards you.
- Disconnect the factory microphone connector:

- Remove upper windshield trim panel by pulling straight down towards dash.
- Disconnect factory wiring retainers from windshield trim panel.
- Remove the side panel from the dash near the opening of the door.
- Route the power wire along the top of the windshield towards the top of the A pillar.
- Use zip ties to attach camera power wire to factory wiring harness as needed.
- Continue by tucking the wire behind the top of the A pillar trim.
- At this point, you can pull back the remaining A pillar trim and tuck the power wire behind the panel.
- Continue running the wire under the dash and towards the cigarette lighter plug however you desire. Use the provided dual USB power adapter to connect the power wire to your cigarette lighter port to provide power to the camera. Replace any parts removed during this step!
Step 6
Test functionality.
Congratulations on installing your new Garmin Dash Camera Bundle!
Download the Garmin Drive App in your App Store to be able to connect your Garmin camera to your phone.
Option 2: Garmin Dash Camera with Garmin Constant Power Adapter
Step 1
First of all, check the packaging and make sure it hasn’t been damaged; then check out the parts to make sure they are intact and ready to go. You will have:
- The Garmin dash camera of your choosing
- Garmin Constant Power Adapter
Tools Needed:
- Panel Removal Tool
- Philips Head Screwdriver
- Small Flat Head Screwdriver
- T20 torx bit screwdriver
- Zip ties
- Cutters
- Glass Cleaner
- Microfiber Cloth
Step 2
Please see the Important Safety and Product Information guide in the product box for product warnings and other important information.
Step 3
Using the longer of the USB power cables from the Garmin box, connect the power cable to the Garmin camera.
Step 4
Clean the window using glass cleaner and a clean microfiber. Secure your dash camera to your windshield in your desired location. Our recommendation is placing it in the middle of the windshield, just below your rearview mirror.
Step 5
Disassembly of windshield & A pillar trim panel:
- Remove the two T20 torx bolts from the visor mount.
- Remove the plastic phillips head screw from A pillar trim:
- Remove the top A pillar trim by pulling out towards you.
- Disconnect the factory microphone connector:
- Remove upper windshield trim panel by pulling straight down towards dash.
- Disconnect factory wiring retainers from windshield trim panel.
- Remove the side panel from the dash near the opening of the door.
- Route the power wire along the top of the windshield towards the top of the A pillar.
- Use zip ties to attach camera power wire to factory wiring harness as needed
- Continue by tucking the wire behind the top of the A pillar trim.
- At this point, you can pull back the remaining A pillar trim and tuck the power wire behind the panel.
- Continue running the wire under the dash towards the OBD2 port.
Step 6
Connect the OBD2 Constant Power Adapter:
- Attach the Garmin constant power adapter to the OBD2 port. The OBD2 port is located under dash to the left of the steering column.
Step 7
Connect the camera power wire to Constant Power Adapter:
- Connect the USB-A from the power wire coming from the camera to the constant power adapter. Be sure to set the switch on the constant power adapter to either: 10 minutes, 24 Hours or Infinite.
Step 8
Secure any loose wires with zip ties and trim off the excess zip tie.
Step 9
Test functionality.
Congratulations on installing your new Garmin Dash Camera Bundle!
Download the Garmin Drive App in your App Store to be able to connect your Garmin camera to your phone.